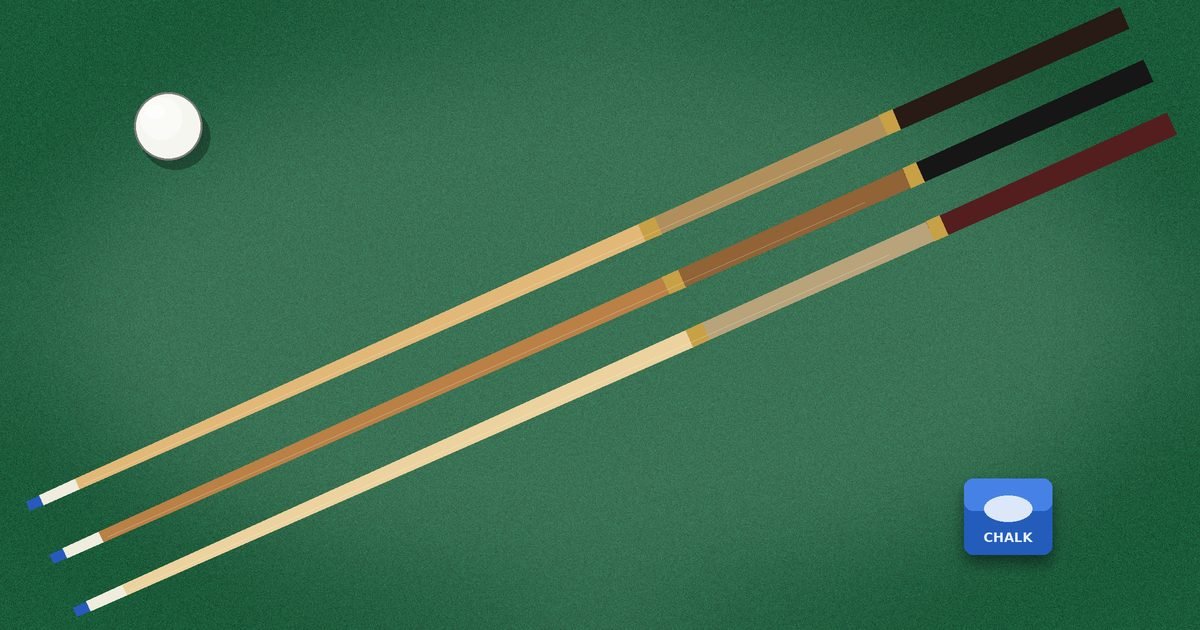
The cue is the only piece of equipment you hold for the whole of every frame, so it is worth understanding what you are buying. A good snooker cue does not make you a better player on its own, but a cue that is straight, well balanced and the right length for you removes a surprising number of small errors. This guide explains the parts of a cue, the materials, the length and weight choices, how much to spend, and how to look after the cue once you own it.
The parts of a cue
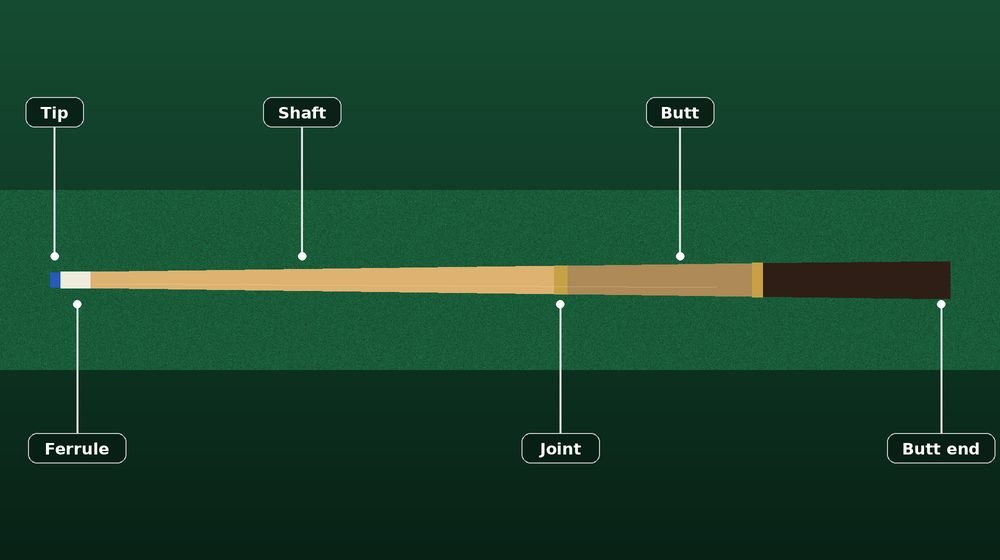
Every snooker cue has the same basic anatomy, and knowing the names makes it much easier to read a description or talk to a shop assistant.
- The tip is the small disc of leather glued to the end. It is the only part that touches the cue ball, and it holds the chalk that stops the contact from slipping.
- The ferrule is the short ring of plastic, brass or similar material between the tip and the shaft. It protects the wood from splitting when the tip strikes the ball.
- The shaft (sometimes called the top or the front) is the slim upper section that tapers towards the tip. It is where your bridge hand rests and where most of the cue’s feel comes from.
- The butt is the thicker back section. It holds the weight of the cue and is the part your back hand grips.
- The joint is where the two halves of a two-piece cue screw together, if the cue has one.
- The butt cap is the rubber or plastic end that protects the base of the cue when it stands on the floor.
The rules require a cue to be at least three feet (914 mm) long and to be of the traditional shape, but within that wide limit there is plenty of room for personal preference.
Wood and construction
Traditional snooker cues are made of ash or maple. Ash is the classic choice for the shaft: it is light, springy and has a visible grain that many players like. Maple is denser, a little stiffer and often used for more expensive shafts and for decorative butts. Butts are sometimes made from darker woods such as ebony or rosewood, or are spliced with a different timber to add weight and appearance.
Cues are sold in two broad forms:
- One-piece cues are made from a single length of timber. They are cheap, usually found hanging on club walls, and are best treated as house cues. They are awkward to carry, so they stay at the club.
- Two-piece (jointed) cues split in the middle and fit into a case. This is the standard choice for anyone who plays regularly. The joint, usually a metal or plastic screw fitting, should tighten smoothly and sit flush with no visible gap.
- Three-quarter and extension cues add a short extra section or an extension that lets you lengthen the cue for long shots on a full-size table.
A well-made jointed cue should feel like a single solid piece in your hand. If you can feel any wobble or hear a rattle at the joint, the fit is poor and the cue is best avoided.
Length, weight and balance
Full-length snooker cues are commonly around 57 to 58 inches (about 145 to 147 cm). That is a good fit for most adults, but it is not a rule. Taller players may prefer a slightly longer cue, while shorter players, juniors and anyone playing mostly on smaller tables may find a shorter one more controllable. A rough check is to stand the cue upright on the floor beside you: the tip should reach somewhere between your chin and your eyebrows.
Weight is usually between about 16 and 18 ounces (roughly 450 to 510 grams). A heavier cue carries more momentum and can feel steadier on long, firm shots, while a lighter cue is quicker and more delicate for touch play. There is no best figure. What matters is that the cue feels natural to swing in a straight line, without you having to fight it.
Balance is just as important as weight. Hold the cue loosely at the point where you would grip it and let it rest. A butt-heavy cue tends to drop towards the back hand, which can encourage a smooth, pendulum-like swing. A cue that is heavy towards the tip can feel sluggish and make the bridge hand work harder. If you are unsure, pick up several cues in a row and notice which one feels as though it wants to travel straight.
Tip size and tip care
Snooker tips are typically between 9 and 10 mm across. That is smaller than the tips used in most pool, and it is deliberate: the small tip gives a precise, controlled contact on a small ball, and allows fine adjustments for spin. Smaller tips can be more demanding on your accuracy, so many beginners and juniors start at around 10 mm and move down if they want to.
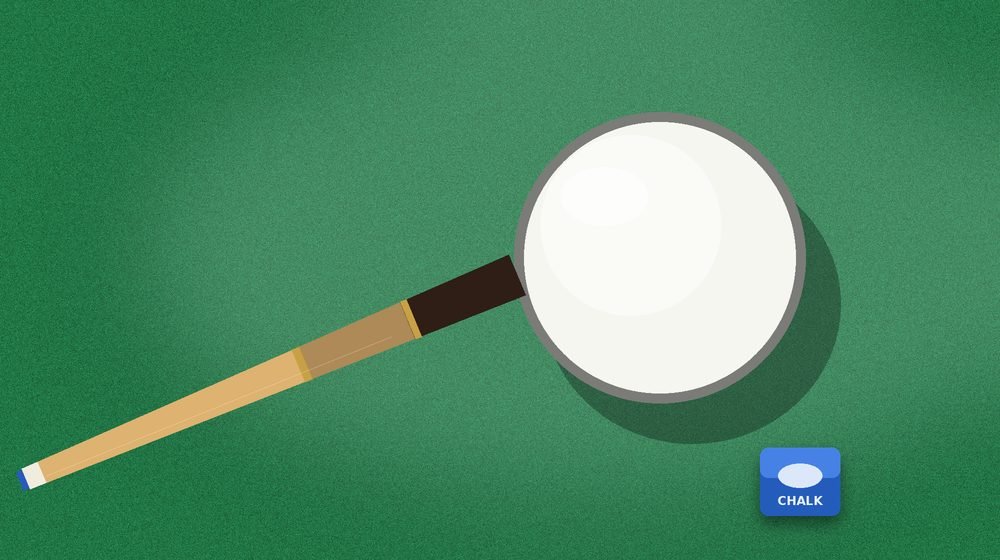
The tip should be slightly domed, roughly the curve of a coin, so that the contact point is easy to judge when you hit above or below centre. Over time it flattens, glazes and hardens. A glazed tip holds chalk badly and causes miscues, which are shots where the tip slides off the ball. You can restore a tip with a light scuff from a tip tool or a fine file, and re-shape it with a shaper. When the leather has worn thin, it needs replacing, and a cue shop can do this for a small fee.
Tips come in soft, medium and hard grades. Soft tips hold chalk well and offer more grip, which helps with spin but wears faster. Hard tips last longer and feel crisper, but are less forgiving. A medium tip is a sensible choice for almost everybody.
How much should you spend?
The price range is enormous. At the bottom are inexpensive one-piece or basic jointed cues, adequate for casual play. In the middle sit solid two-piece cues in ash or maple with a decent joint, a good tip and a case, which is where most regular players are best served. At the top are hand-built cues with exotic timbers, intricate inlays and carefully matched shafts.
For a beginner, a mid-priced two-piece cue is usually the sensible place to start. A more expensive cue will not repair a poor stance or an inconsistent cue action, and the biggest gains in your game come from practice rather than hardware. If you do want to spend more, put the money into straightness and quality of the shaft rather than decoration.
Buying second-hand can be good value, but inspect the cue in person if you can. Look for warping, cracks near the joint, loose ferrules and tips that are close to worn out. Replacing a tip is cheap, but a bent shaft is a reason to walk away.
How to test a cue before buying
A few minutes of simple checks will tell you more than a long product description.
- Roll it. Lay the cue on a flat, hard surface such as a table or a glass top and roll it gently. A straight cue rolls smoothly without a wobble or a hop. Roll the shaft and butt separately if it is a two-piece.
- Sight along it. Hold the tip near your eye and look down the length of the cue. The line should look clean, with no obvious bend or curve.
- Check the joint. Screw it together and run your finger over the join. It should feel almost seamless.
- Look at the ferrule and tip. The ferrule should be firmly seated with no gaps, and the tip should be centred and securely glued.
- Take some shots. If the shop allows it, play a few straight shots, a stun shot and a long pot. Notice how the cue feels at the moment of impact, whether it is lively or dead, and whether your swing stays straight.
If you are testing several cues, try to do so over a short session, because your impressions fade quickly. Go with the one that makes you feel most relaxed.
Looking after your cue
A cue is wood, and wood reacts to its surroundings. Heat, damp and sudden changes in temperature can all cause warping. A few habits will keep your cue straight for years.
- Keep it in a case when you are not playing, and store it away from radiators, windows and car boots on hot days.
- Do not lean it against a wall for long periods. A cue left at an angle can slowly bend. Standing it upright or laying it flat is much safer.
- Wipe the shaft with a clean, dry cloth after play. Chalk dust and hand oils build up and make the cue sticky and slow.
- Clean the shaft carefully. If it becomes tacky, a very fine abrasive or a dedicated shaft cleaner restores the smoothness. Avoid heavy sanding, which removes wood and changes the diameter.
- Tighten the joint by hand only. Over-tightening can damage the threads.
- Do not use the cue as a pointer, a lever or a walking stick. Cues are lighter than they look and bend under uneven pressure.
Other accessories worth having
Once the cue is chosen, a small number of extras make a real difference to everyday play.
- Chalk is applied to the tip before most shots. It is not there to colour the tip but to create friction, so that the tip grips the ball. Use a light touch and chalk regularly rather than heavily.
- A tip tool to scuff and shape the tip when it glazes.
- A case that fits the cue snugly and protects against knocks.
- An extension that screws onto the butt, useful when the cue ball is close to the far cushion and you want to avoid reaching for the rest.
- A glove for the bridge hand, which some players like on hot days or in humid halls to keep the cue sliding smoothly.
Once you have your cue, the next step is to use it well. Our guide to improving your aim and cue-ball control shows you how to turn good equipment into steady pots, and the guide to the bridge hand and rest explains how to support the cue properly. If you are still learning the basics, start with our complete beginner’s guide.